
Last updated November 15, 2026
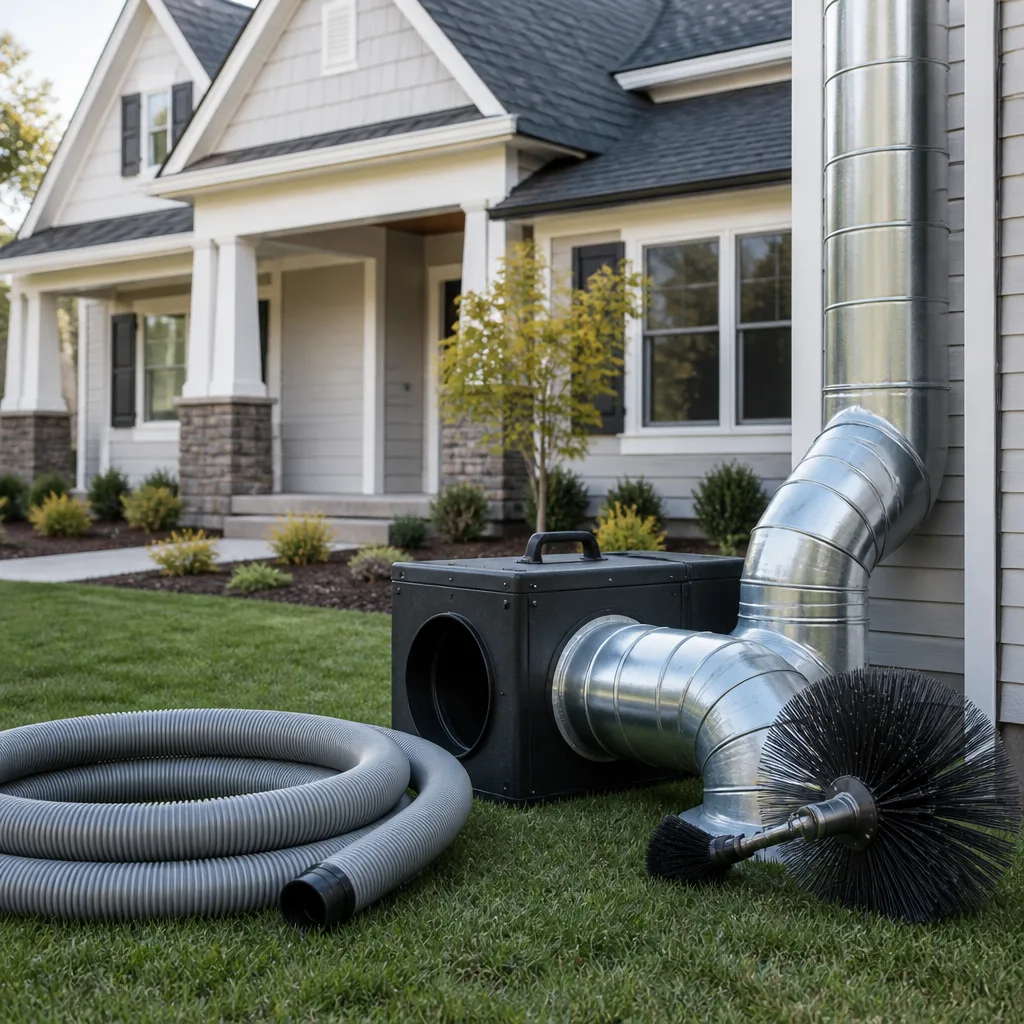 Whole-home duct cleaning
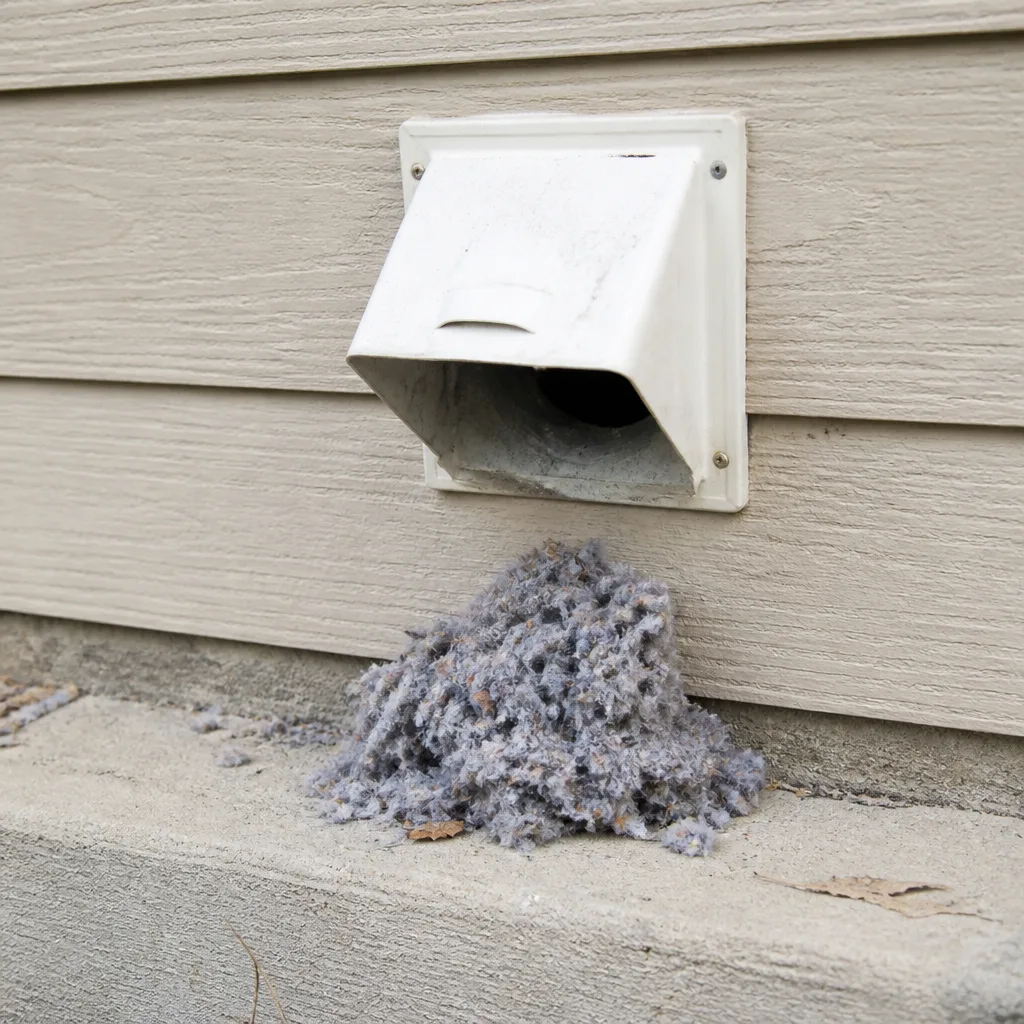 Dryer vent cleaning
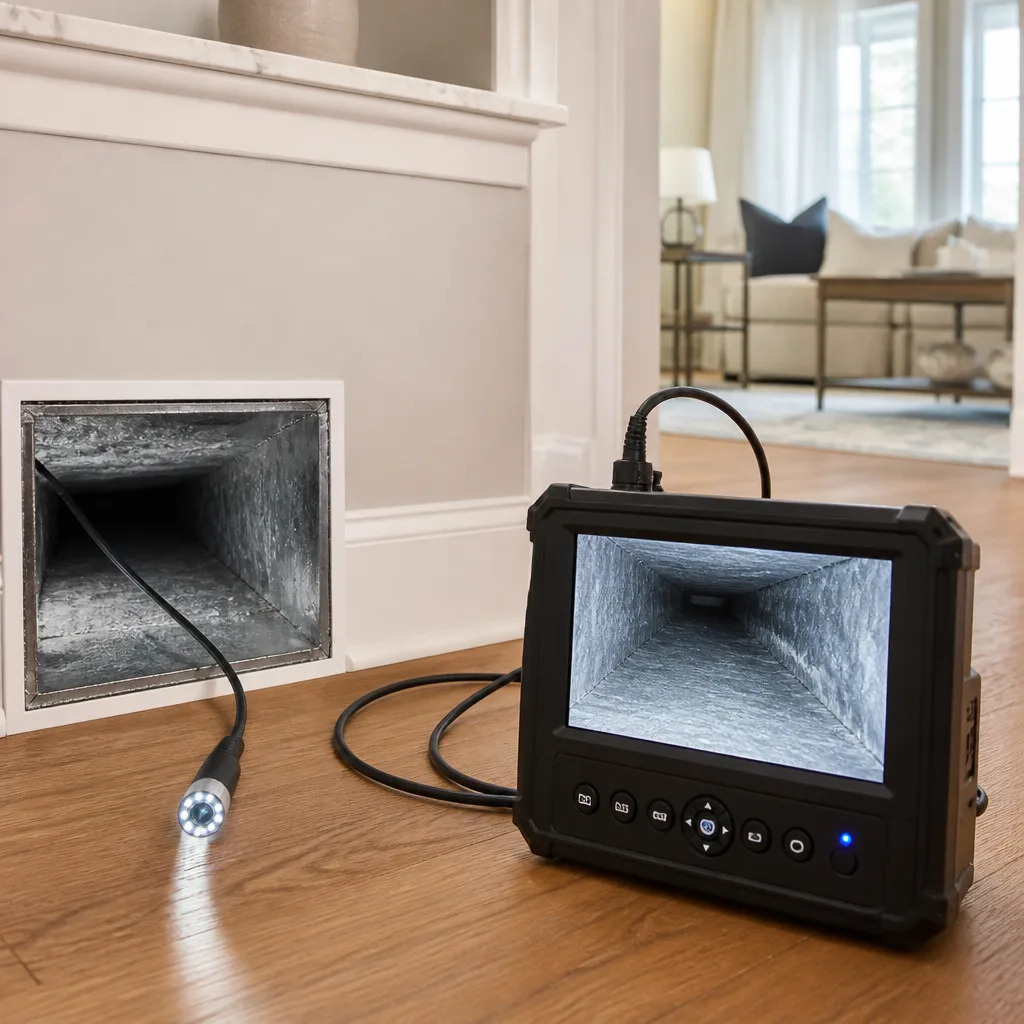 Camera inspection
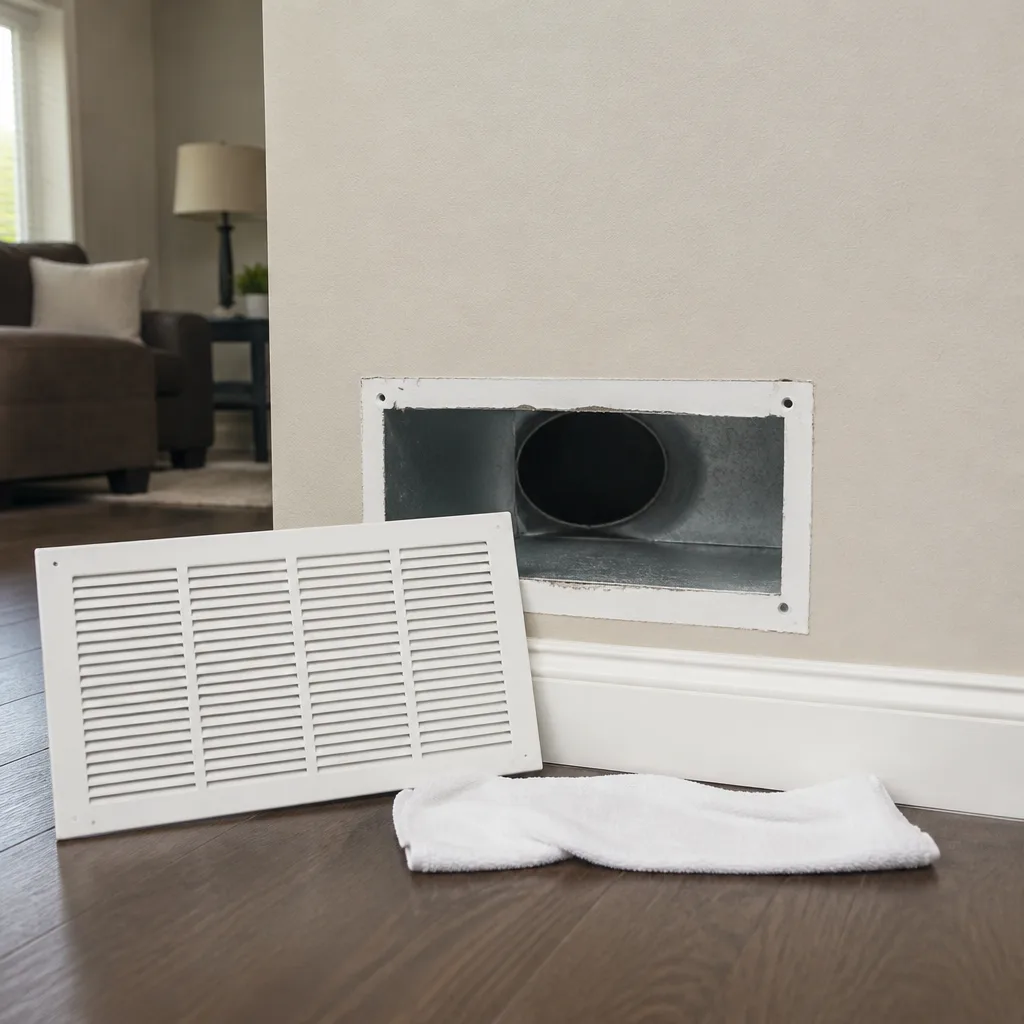 Sanitizing & deodorizing
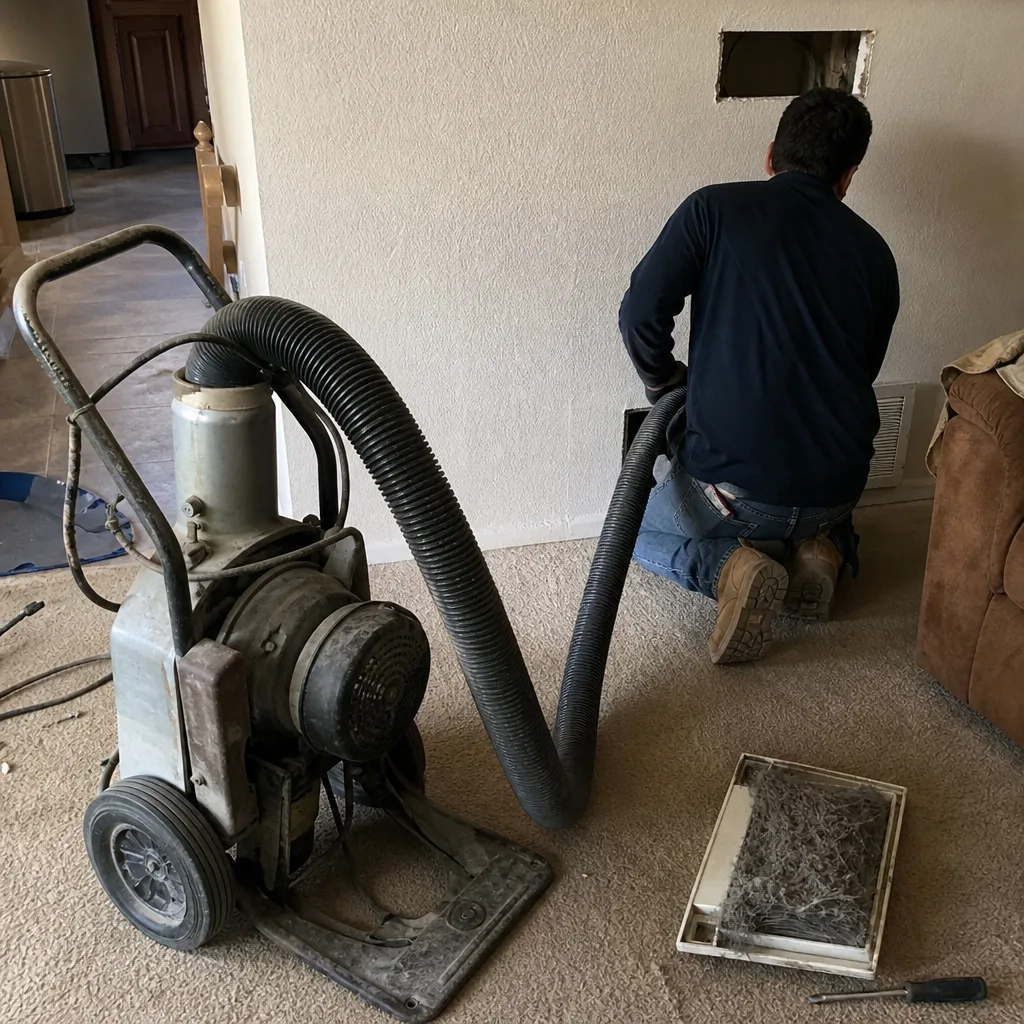
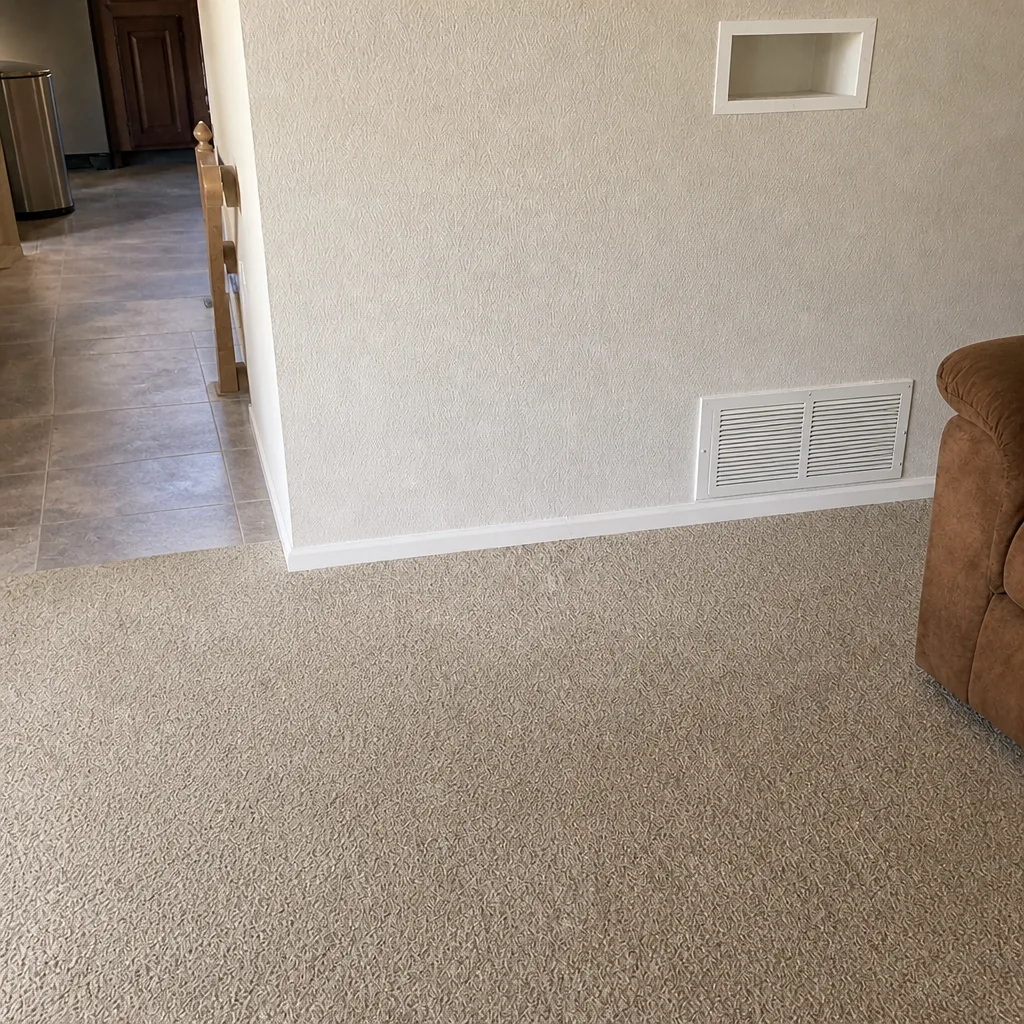
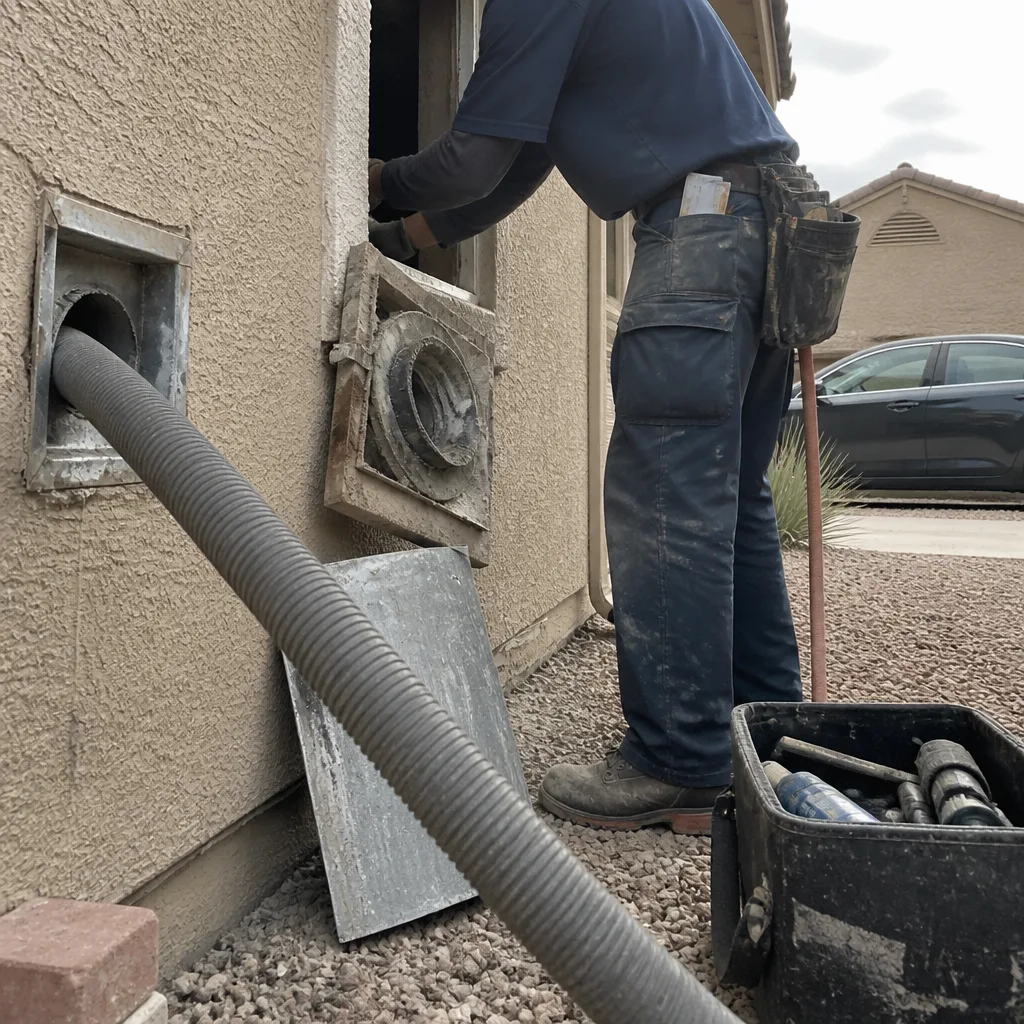
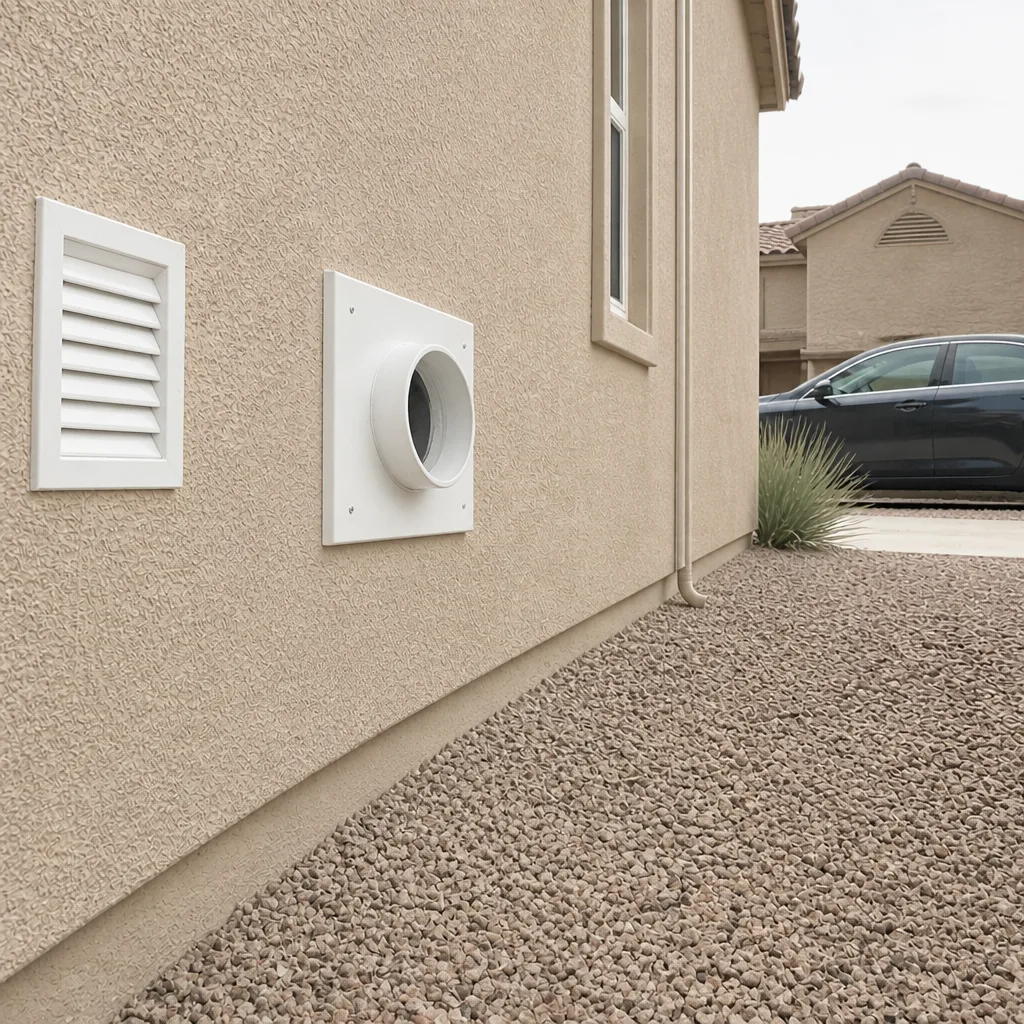
Whole-system duct and dryer vent check with before-and-after photos - you see exactly what came out of your vents
That "$99 whole-house special" is a bait ad - the real number appears once they are in your hallway, or the "clean" is a shop-vac at the register. We photograph the inside of your ducts before and after instead.
Air Duct Cleaning Maintenance Checklist for Goodyear Homeowners
A single monsoon storm can push enough fine dust through a poorly sealed return pathway to undo a full year of ordinary filtration. Most homeowners here still treat “check the filter” as the whole of seasonal duct care, and that gap is exactly where comfort problems and higher energy bills start. Goodyear sits in a stretch of the Sonoran Desert where the dry months pull in airborne particulate, the summer storms drive it sideways, and new subdivisions keep the dust churning. This guide gives you a maintenance checklist built around those triggers, with the airflow measurements and inspection points that help you catch duct problems before they turn into a system problem.
Quick Answer
A workable air duct maintenance routine in Goodyear means checking filters monthly during peak cooling, sealing supply boots and accessible joints before the 110°F stretch, inspecting return grilles and the air handler plenum after every storm event, and logging airflow observations so you can spot decline early. A professional system cleaning is typically scheduled every three to five years unless you have pets, allergies, recent construction, or a dusty storm season on record. The checklist below walks through each trigger, what to look for, and when the job is a simple filter change versus a call to a technician.
Styles & brands we work with
- Whole-home duct cleaning
- Dryer vent cleaning
- Camera inspection
- Sanitizing & deodorizing
Table of Contents
- Why Goodyear Ducts Face a Different Maintenance Timeline
- Pre-Summer Checklist: What to Do Before 110°F Operation Begins
- Post-Monsoon Inspection Protocol
- Filter Upgrade Decision Point: MERV 8 vs. MERV 11
- New Construction and Nearby Grading as a Checklist Trigger
- How to Log Baseline Airflow Observations
- The Twelve-Month Maintenance Calendar
- What a Professional Cleaning and Inspection Covers
Why Goodyear Ducts Face a Different Maintenance Timeline
The maintenance cycles you see in national guides usually assume temperate weather, humidity, and a heating season that dominates. That doesn’t map onto Goodyear. Here, cooling runs for a long stretch, the heating side barely flexes, and the biggest dust events don’t come from indoor activity. They come from the wind that builds across the West Valley before a monsoon and from the grading, paving, and framing of new subdivisions that keep the air particulate-heavy through construction phases.
Two more local factors matter. First, an air handler in a Goodyear home typically runs hard through pre-summer and mid-summer, and any leak at a supply boot or plenum seam pulls unfiltered attic or ceiling particulate straight into the airstream. Second, the housing stock spans a wide range. Older homes in the original parts of the city often have duct layouts, register counts, and flexible duct runs that were built to different assumptions than the newer construction toward the Estrella and Sedella areas. Each stock ages differently, and the checklist needs to respect that.
What this means for you: the checklist we lay out below is a seasonal cycle keyed to cooling stress, storm events, and construction dust rather than to four equal seasons. If you’re new to the Goodyear area, the pattern will feel unfamiliar. It’s worth adopting from your first cooling season onward.
The four triggers that define the local cycle
- Pre-summer heat ramp. The weeks before the first sustained 110°F run, when you do the sealing and filter work that carries you through peak cooling.
- Monsoon events. Each storm is a discrete inspection trigger, not an annual one. The dust arrives in pulses.
- New construction or nearby grading. A documented trigger for the whole neighborhood, independent of calendar date.
- Airflow logs. A living baseline that tells you whether your system is quietly drifting.
Pre-Summer Checklist: What to Do Before 110°F Operation Begins
Pre-summer is the highest-value window in the Goodyear duct maintenance calendar. Once the air handler is cycling through the hottest part of the day, sealing and adjustment work becomes harder to time and easier to skip. Do this checklist in the weeks before your first sustained heat, when you can still work comfortably and the system has room to be adjusted.
- Walk the supply boots and grilles. With the system off, look at every supply boot where it meets the floor, wall, or ceiling. Feel for gaps. Look for dust trails around the outer edge, which are the telltale sign of an air leak. Loose boots are common in older Goodyear homes.
- Check the return air path. Confirm the return grille isn’t blocked by furniture or rugs. Look at the plenum connection at the air handler if you can see it safely. Any tape lifting, mastic cracked, or duct tape flagging at the seam is a leak.
- Look at the filter slot. Check that the filter is seated, sized correctly, and that the slot itself doesn’t have gaps around the frame. A filter that’s 1/4 inch short lets more dust around it than through it.
- Inspect accessible duct runs. Where ductwork is visible in the garage or attic access, look for crushed flex duct, sagging runs, or disconnected joints. Any of these will rob supply pressure downstream.
- Schedule a professional cleaning if it’s due. If your last cleaning is more than three to five years old, or if any of the above found real debris inside the accessible ductwork, book it before peak season. Our air duct cleaning technicians use Rotobrush and Nikro contact-vacuum equipment, not shop-vac rigs, so the extraction actually removes what’s caked in.
- Log pre-summer airflow readings. Write down how the system feels at each register and note any room that feels weak. This becomes your comparison for the rest of the year.
Don’t do this work on the heating and cooling equipment itself. The electrical and refrigerant side of the system is a trained-hands zone. Our checklist covers what a homeowner can safely inspect and adjust. Anything inside the air handler, at the electrical panel, or in the refrigerant lines should be handled by a licensed HVAC technician.
Post-Monsoon Inspection Protocol
Every monsoon event is a separate inspection trigger. Not a week after storm season closes, but after each meaningful storm. The dust can enter through return air pathways that would resist ordinary indoor dust.
What to look for at return grilles
After a storm, pull the return grille if you can do so safely. Look at the first few inches of duct behind it. If you see a fresh layer of fine, sandy particulate that wasn’t there before the storm, the return path has a leak that’s letting outdoor air in. That is exactly the pathway that can undo months of filtration in a single weather event.
What to look for in accessible plenum areas
If you can see the air handler plenum from a safe vantage, look for dust patterns around the seams. Fresh dust distribution that follows the storm pattern is a strong signal of a compromised seal. This is where Abatement Technologies equipment earns its keep on the professional side. A dry-vac dust job won’t fully address the load; negative-air containment does.
What to check in living spaces
If you notice a fine dust film returning on surfaces that were clean before the storm, that’s a system-side signal, not a housekeeping one. Dust re-depositing within a day or two of cleaning is worth a phone call. If you have one or more of these signals, log them and take a photo. Photos and dates make the conversation with a technician far more useful.
The Duct Cleaning Goodyear team routinely handles post-storm inspections in the neighborhoods hit hardest by the larger monsoon events. If you see fresh dust at the return or plenum after a storm, we can inspect and tell you whether it’s a cleaning job, a sealing job, or both.
Filter Upgrade Decision Point: MERV 8 vs. MERV 11
The single most common filter mistake we see in Goodyear is a homeowner who jumps straight to the highest MERV rating available on the shelf, then wonders why the house never gets comfortable. The filter level has to match the system’s ability to move air, and older duct layouts have less room for restriction than newer ones.
When MERV 8 is the right call
- Your duct layout is older, with long flex runs or a design that already feels weak at the far register.
- You have no significant allergy problems in the household and no pets shedding heavily.
- You’re in the middle of peak cooling and you don’t want to test a filter change mid-season.
When MERV 11 is the right call
- There are allergy sufferers or pet owners in the home and you want a real particulate upgrade.
- Your duct layout is newer or was designed with the static pressure headroom to handle it.
- You’ve had a professional cleaning recently and want to keep the system cleaner from that baseline.
What the change does to static pressure
A higher-MERV filter is a tighter filter, and tighter means higher static pressure drop across it. In older Goodyear duct layouts, that added restriction can push a system that was already marginal into a state where supply airflow drops throughout the house. You can’t feel static pressure directly, but you can feel the symptom: weak registers, longer run times, uneven room temperatures. That’s why the level up should be paired with an airflow observation, before and after. If the change is too much for the system, you’ll see it in the log. Some homes in Goodyear with newer Honeywell or Aprilaire filtration cabinets have simpler headroom to step up. Matched filter-to-system decisions are easier to make when we’re familiar with the cabinet already in the home.
New Construction and Nearby Grading as a Checklist Trigger
Calendar dates are the wrong trigger in a city that’s growing as fast as Goodyear. If you live next to an active build, grading crew, or road project, the construction dust is a checklist trigger on its own. Framing, grading, paving, and final landscaping each push a different mix of particulate into the air. A homeowner living next to a project that spans those stages can accumulate indoor duct debris far faster than the usual three-to-five-year cycle suggests.
Signs a construction nearby warrants a check
- Visible dust settling on interior surfaces, vehicles, or window sills at a rate that has clearly increased.
- Filter cartridges clogging noticeably faster than before.
- A fresh film appearing on interior surfaces days after a clean.
- The home is inside an active subdivision build phase, where multiple lots are being graded and framed.
Post-construction cleaning is a different job than a maintenance cleaning. It involves more heavy particulate, more risk of construction debris in the ductwork, and a need for negative-air containment so the dust doesn’t spread into the living space during extraction. That’s the reason Abatement Technologies equipment shows up in our toolkit, and the reason we ask about nearby construction before quoting a Goodyear job. If you’re a landlord or property manager with properties near an active build, this is one of the items to put in writing in your maintenance schedule.
How to Log Baseline Airflow Observations
You don’t need instruments to detect a slowly degrading duct system. You need a consistent way to observe and record what you’re feeling. Here’s how to build that baseline.
What to record, and when
- Pick a fixed day each month. Mid-month, mid-morning, is fine. Consistency matters more than precision.
- Walk every register. Record the airflow feel at each register on a simple scale (strong, medium, weak). Note any change from last month.
- Note room temperature spread. If you have a thermostat with a remote or a second thermometer, compare the central room to the far room. A widening spread over time is a duct signal.
- Note system run time. If the system is starting earlier or running longer to reach the set point, that’s a sign of declining efficiency.
- Note filter dates. Write down when each filter was changed and how dirty it was at change. Faster clogging is one of the clearest signals.
- Note storm events. After each meaningful monsoon, add a line to the log with a note on any dust pattern you saw.
Reading the log
A single weak register isn’t a crisis, but a gradual widening gap between the strongest and weakest register is worth attention. If your monthly log shows two consecutive readings trending down, that’s the right moment to schedule a professional inspection rather than waiting for the register to feel noticeably weak. Airflow degradation tends to be gradual, and by the time it feels obvious to the homeowner, it’s usually been quietly costing comfort and energy for months. If you see the trend, tell the technician when you call. The log saves diagnostic time.
Our technicians have up to 13 years of experience reading these patterns across the home types we see in Goodyear. When you call (844) 287-2528, “the register in the back bedroom has been declining for two months” tells us more than a general description of feeling off.
The Twelve-Month Maintenance Calendar
Here’s how the twelve-month cycle shapes up for a typical Goodyear home. This is a template, not a strict schedule. If you’ve had a major construction event or several hard monsoons, compress the cycle.
- Early pre-summer (before 110°F sustained operation): Walk supply boots and returns, seal accessible leaks or schedule sealing, confirm filter level, schedule cleaning if due.
- Early cooling season: Record baseline airflow. Log filters. Note any register that feels weak on first cool-day use.
- Mid-cooling season: Mid-month log. Change filter on schedule. Watch for dust film in living spaces.
- Monsoon season, per event: Post-storm return grille and plenum check. Log any fresh dust. If you see persistent re-deposition, schedule a professional inspection.
- Post-monsoon: Full inspection. If the home is near active construction, this is the second of two construction-triggered checks.
- Mild season (the cooler stretch): The right window for a professional cleaning if scheduled, because the system isn’t under peak load.
- Year-end review: Read the log. If any register has dropped a full step, or the filter is clogging noticeably faster, book a professional inspection.
One safety note that belongs in every twelve-month review: your dryer vent cleaning belongs on this list too. Lint accumulation in a dryer vent is a documented residential fire risk, and it’s a separate system from your air ducts. It’s one most maintenance guides don’t mention.
What a Professional Cleaning and Inspection Covers
A professional duct cleaning in Goodyear isn’t a guy with a shop-vac and a hand brush. A real cleaning uses a contact-vacuum head that mechanically agitates the duct interior while a negative-air machine pulls the loosened material out and contains it. The Rotobrush and Nikro systems handle that combination. Abatement Technologies negative-air equipment comes into play on heavier particulate, allergen, mold-spore, or post-construction contamination jobs, and is one of the reasons we can handle situations that go beyond ordinary dust.
The standard steps in a proper job
- Inspect first. Accessible ductwork, the plenum, return pathway, and supply boots, with a note of anything that needs a repair before cleaning.
- Protect the living space. Drop cloths, plastic sheeting, and negative air if the contamination level warrants it.
- Mechanically agitate every duct run. Contact-vacuum brushes work the duct interior. It’s a physical process, not an aerosol one.
- Extract with negative air. All loosened material is pulled out and contained, not redistributed.
- Fix what’s broken. This is where our air duct repair capability matters. If we find a breached run or a disconnected boot, we fix it, not just note it. One company, one fix.
- Before-and-after photos. We document the work so you can see what was found and what was removed. A cleaning you can’t verify is a cleaning you can’t trust.
- One flat price per system, agreed before work starts. That’s the answer to the biggest hesitation in this industry. No per-vent pricing, no coupon that inflates on the invoice, no surprise line item after the equipment is on site.
If you want a full overview of what we cover beyond this guide, the Duct Cleaning Goodyear home page lays out the three services. The cleaning, dryer vent, and repair side is where a single visit can solve the whole problem instead of handing you off to a second contractor.
Common Mistakes to Avoid
- Treating the filter as the whole checklist. A fresh filter catches what reaches it. It does nothing for duct runs, boots, or plenums that are already carrying caked particulate or leaking air. The filter is the first line, not the whole defense.
- Ignoring the return side. Most of the air-handling problem we see in Goodyear homes is return side, not supply. Return grilles and plenum seams are worth checking every storm event.
- Chasing the highest MERV rating. A MERV 13 filter on an older, marginal duct layout can rob enough airflow to make the house less comfortable, not more. Match the filter to the system.
- Missing the construction trigger. Calendar-date cleaning schedules miss the biggest dust load in a growing city. If you’re near an active build, add a checklist event rather than waiting for a five-year mark.
- Skipping the dryer vent. It’s a separate system, it accumulates lint, and it’s explicitly a documented residential fire risk. It belongs on your twelve-month list.
- Not logging what you observed. A homeowner who can say “the back register has been weaker for two months” gets a faster, more accurate diagnosis than one describing a vague discomfort. The log is the tool.
- Believing a cheap coupon covers the job. In this industry the low headline price is the most common bait-and-switch. Ask for a flat price per system, agreed before work starts, and before-and-after photos of your own ducts.
See the difference
 Before
 After
 Before
 After
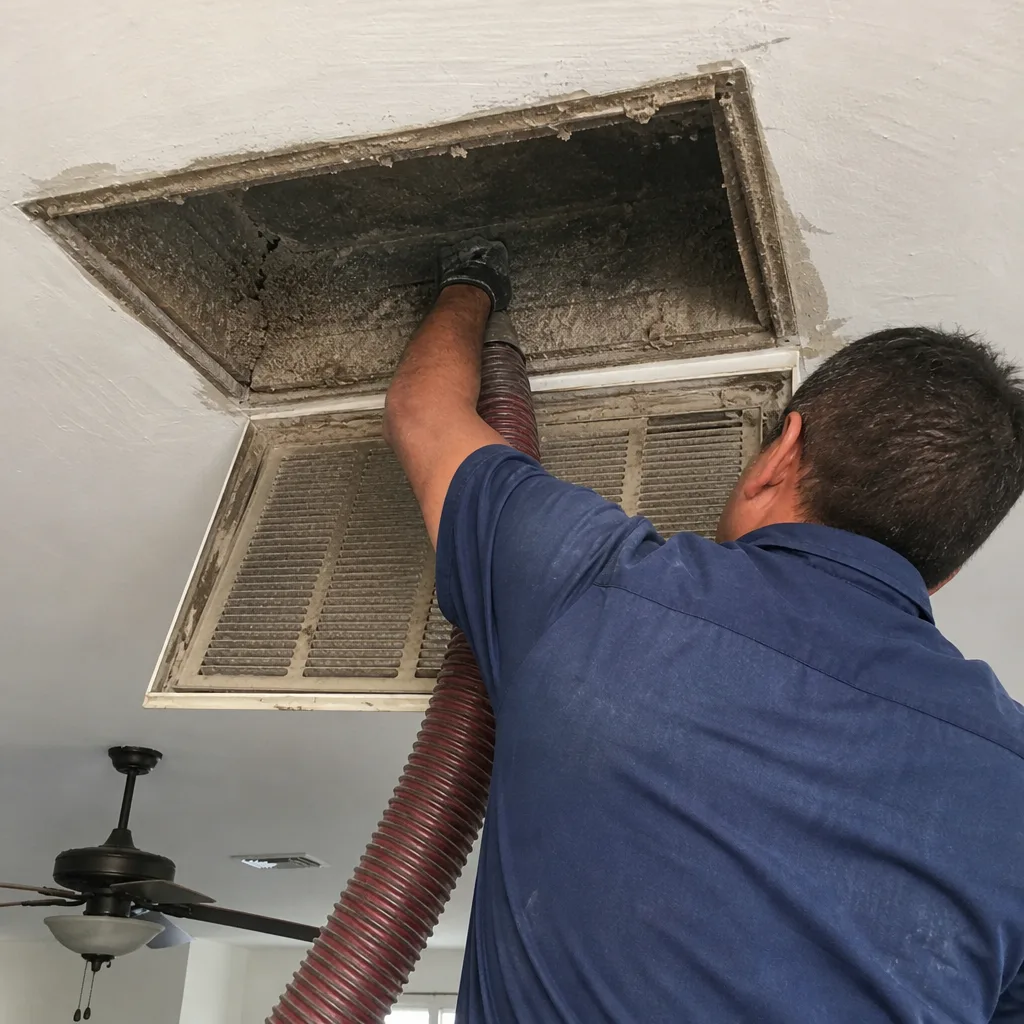 Before
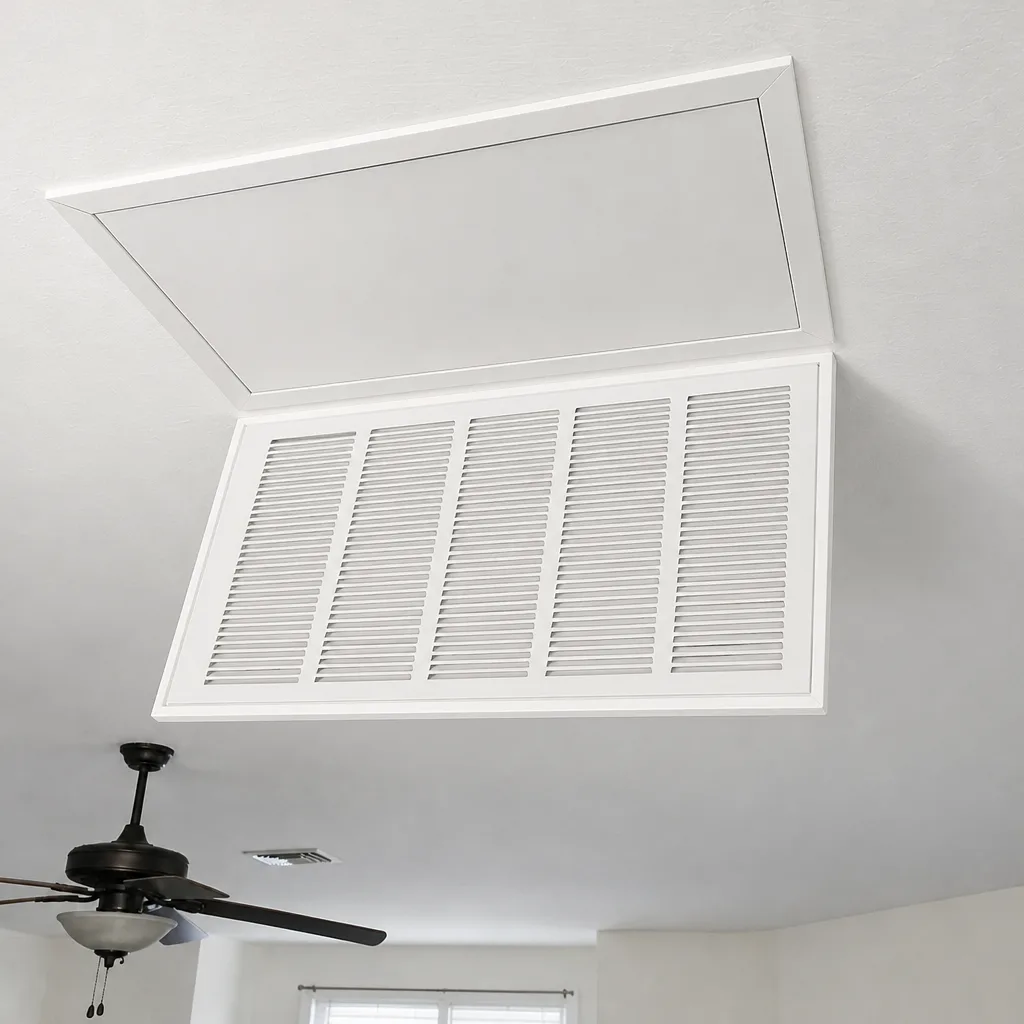 After
When to Call a Professional
Some of this checklist is homeowner work. Some of it isn’t. Call in a professional if any of the following are true: your accessible ductwork shows heavy debris, your post-monsoon inspection found fresh dust at the return path or plenum, your register log shows a consistent two-month decline, your home has pets, allergies, or recent construction nearby, or it’s simply been three to five years since the last cleaning. Also call if you see what looks like mold, unusual staining, or anything growing inside the ductwork. That clean-up needs negative-air containment, not a shop-vac.
Do not open the air handler cabinet, work on the electrical panel, or attempt to work inside supply runs beyond a visual check. Those are trained-hands zones. Duct Cleaning Goodyear offers free estimates in Goodyear. Call (844) 287-2528. We answer 24/7. Fast dispatch from 7am to 7pm, Sunday through Friday. Our technicians have up to 13 years of experience with the equipment these jobs actually require.
Frequently Asked Questions
The usual baseline is every three to five years, but in Goodyear that baseline should be compressed if you have pets, allergy sufferers in the household, recent construction nearby, or a hard monsoon season on record. If nearby grading or framing activity is happening, treat the construction itself as a checklist trigger, independent of the calendar. Call (844) 287-2528 for an exact quote based on your home’s layout, and the written estimate sets the final price.
Typical whole-system air duct cleaning in Goodyear runs in the range you’d expect for a focused three-service provider using professional equipment, quoted per system, not per vent. The written estimate sets the final price. Any provider quoting a coupon headline figure before walking the system is telling you the price will change once the equipment is on site. Call (844) 287-2528 for a free estimate.
The cheapest quotes usually come from one of two sources. The first is a shop-vac approach, which agitates dust without real negative-air extraction. The second is a low per-vent teaser that becomes a much larger invoice once the technician is on site. Neither delivers a system actually cleaned. Professional-grade equipment from Rotobrush, Nikro, and Abatement Technologies is not cheap to run, and a flat price per system is the honest way to quote a job. Call (844) 287-2528 for an accurate quote.
Ask for before-and-after photos of your own ducts during the job, not stock images. A proper cleaning also shows up in the register airflow after the system is back in operation, and in the filter’s load. We photograph the accessible ductwork before and after so you can see what was found and what was removed. If a provider won’t show you photos of your own system, that’s a red flag. Call (844) 287-2528 to book a documented job.
It depends on your duct layout and your household needs. A newer, well-designed layout can usually handle the added static pressure drop of a MERV 11. An older layout already feeling weak at the far register is a candidate for staying with MERV 8, or upgrading while watching the airflow log afterward. Familiarity with Honeywell and Aprilaire filter cabinets helps us match the filter to the system. Call (844) 287-2528 for a recommendation based on your specific layout.
Yes, and this is the part most checklists miss. A single storm can push enough fine particulate through a compromised return pathway to load the return side more than ordinary indoor dust would over months. That’s why a post-storm return grille and plenum check is a distinct checklist trigger here, not just an annual note. If you see fresh dust re-depositing in the living space after a storm, that’s the signal. Call (844) 287-2528 to schedule an inspection.
The Bottom Line
The maintenance checklist that actually fits a Goodyear home looks different from the generic version. It’s keyed to the pre-summer heat ramp, per-storm post-monsoon inspections, construction events nearby, and a running log of airflow observations, not just a calendar date on the filter. The filter is the first line, not the whole defense. Professional cleaning is due every three to five years at a baseline, sooner with pets, allergies, new construction, or a hard storm season. Our technicians have up to 13 years of experience with the Rotobrush, Nikro, and Abatement Technologies equipment these jobs actually need. And remember your dryer vent: it’s a separate system, and it belongs on the same list.
When the checklist points to a job, call Duct Cleaning Goodyear at (844) 287-2528 for a free estimate. We answer 24/7. Fast dispatch from 7am to 7pm, Sunday through Friday. One flat price per system, agreed before work starts, with before-and-after photos of your own ducts. We clean it, and if we find a breach, we fix it.
Written by the team at Duct Cleaning Goodyear.